
AntiGravity: Full guide from install to Custom rules, workflows and MCP integration
Start with Antigravity, how to install and launch, explanation for the different antiGravity modes MCP: How to add MCP servers to your IDE. Custom Rules & Workflows let you enforce coding standard

Introduction:
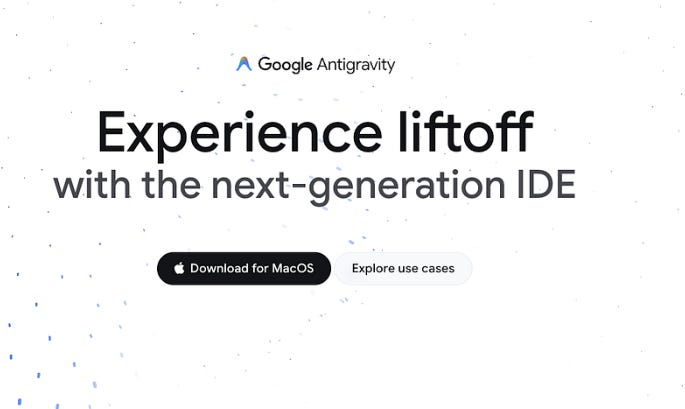
Google Antigravity isn’t just another code editor with an AI sidebar. Launched on November 18, 2025, it’s an agent-first development platform that fundamentally changes your role from a coder to an architect and manager of autonomous AI agents.
This is how Google see the collaboration between software engineers and AI, in all aspects: Army of Agents, and humans as an architect of that.

Get Started with AntiGravity
Getting started is straightforward. The platform is currently in a free public preview for personal Gmail accounts .
Step 1:
Download: Go to the official Antigravity download page and get the installer for your operating system (Windows, macOS, or Linux) .
Run the Installer: Launch the downloaded file and follow the setup wizard. You’ll be greeted with a series of configuration screens.
You can export your configuration and set up Antigravity configuration:

an configure:
Here is an explanation of each option you’ve highlighted, based on common terminology for AI agents in development:
Development Modes
These options define the level of autonomy and involvement of the Antigravity Agent in your development workflow.
1. Agent-driven development
In this mode, the Agent has the primary responsibility for completing tasks and generating code, often with minimal human intervention.
Meaning: You give the Agent a high-level goal (e.g., “Implement a user login feature”), and the Agent autonomously plans, writes, executes, tests, and refines the code steps.
Best for: Tasks where the desired outcome is well-defined and the Agent’s capabilities are highly trusted. It aims for maximum automation.
2. Agent-assisted development (RECOMMENDED)
This is a collaborative mode where the Agent works alongside the developer, offering suggestions and automating specific, smaller tasks, but the human developer remains in control of the overall process.
Meaning: The Agent acts as a smart pair programmer, suggesting code completions, debugging help, refactoring options, and automating repetitive tasks (like writing tests or boilerplate code).
Best for: Most typical development workflows. It balances productivity (Agent handles the grunt work) with control (developer makes the final decisions).
3. Review-driven development
In this mode, the Agent’s main role is to analyze, critique, and suggest improvements to code that has already been written by the human developer.
Meaning: The Agent primarily focuses on Code Review. It checks for bugs, performance issues, security vulnerabilities, style violations, and compliance with best practices. It suggests fixes but doesn’t initiate the development.
Best for: Maintaining high code quality, consistency, and enforcing standards across a team.
4. Custom configuration
This allows you to manually define the Agent’s behavior, autonomy, and the specific policies, offering granular control beyond the three predefined modes.
Meaning: You can create a hybrid workflow, for example, making the Agent highly autonomous for tests (Agent-driven) but only assistive for main feature development (Agent-assisted).
Best for: Advanced users or specific project needs that don’t fit the standard modes.
Policy Settings
These settings control how and when the Agent executes commands and asks for human approval.
Terminal execution policy: Auto
This policy determines the Agent’s behavior when it needs to run a command in the development terminal (e.g., running tests, installing dependencies, executing a build).
Auto: The Agent will automatically execute most terminal commands without waiting for explicit human confirmation. The Agent is expected to be safe and reliable in its command execution.
Review policy: Agent Decides
This policy determines when the Agent will pause its work and prompt the developer for a review or approval of its proposed actions (like a code change or a planning step).
Agent Decides: The Agent uses its internal logic and heuristics to determine the appropriate moments to request a review. It will request review when it encounters ambiguity, complex decisions, or high-risk actions. (The message “The agent will occasionally request for review” confirms this.)
Use the default allowlist for the browser
This setting relates to the Agent’s ability to interact with a web browser (likely for tasks like gathering information, checking live UI changes, or testing).
Checked: The Agent is restricted to a predefined list of approved domains or actions when using the browser tool, which enhances security and prevents the Agent from performing unintended or malicious actions outside of the development context.
For your first time, I highly recommend “Agent-Assisted Development.” It provides a safe environment to learn how the agents operate without giving up too much control. After signing in with your Google account, you’ll arrive at the heart of Antigravity: the Agent Manager.
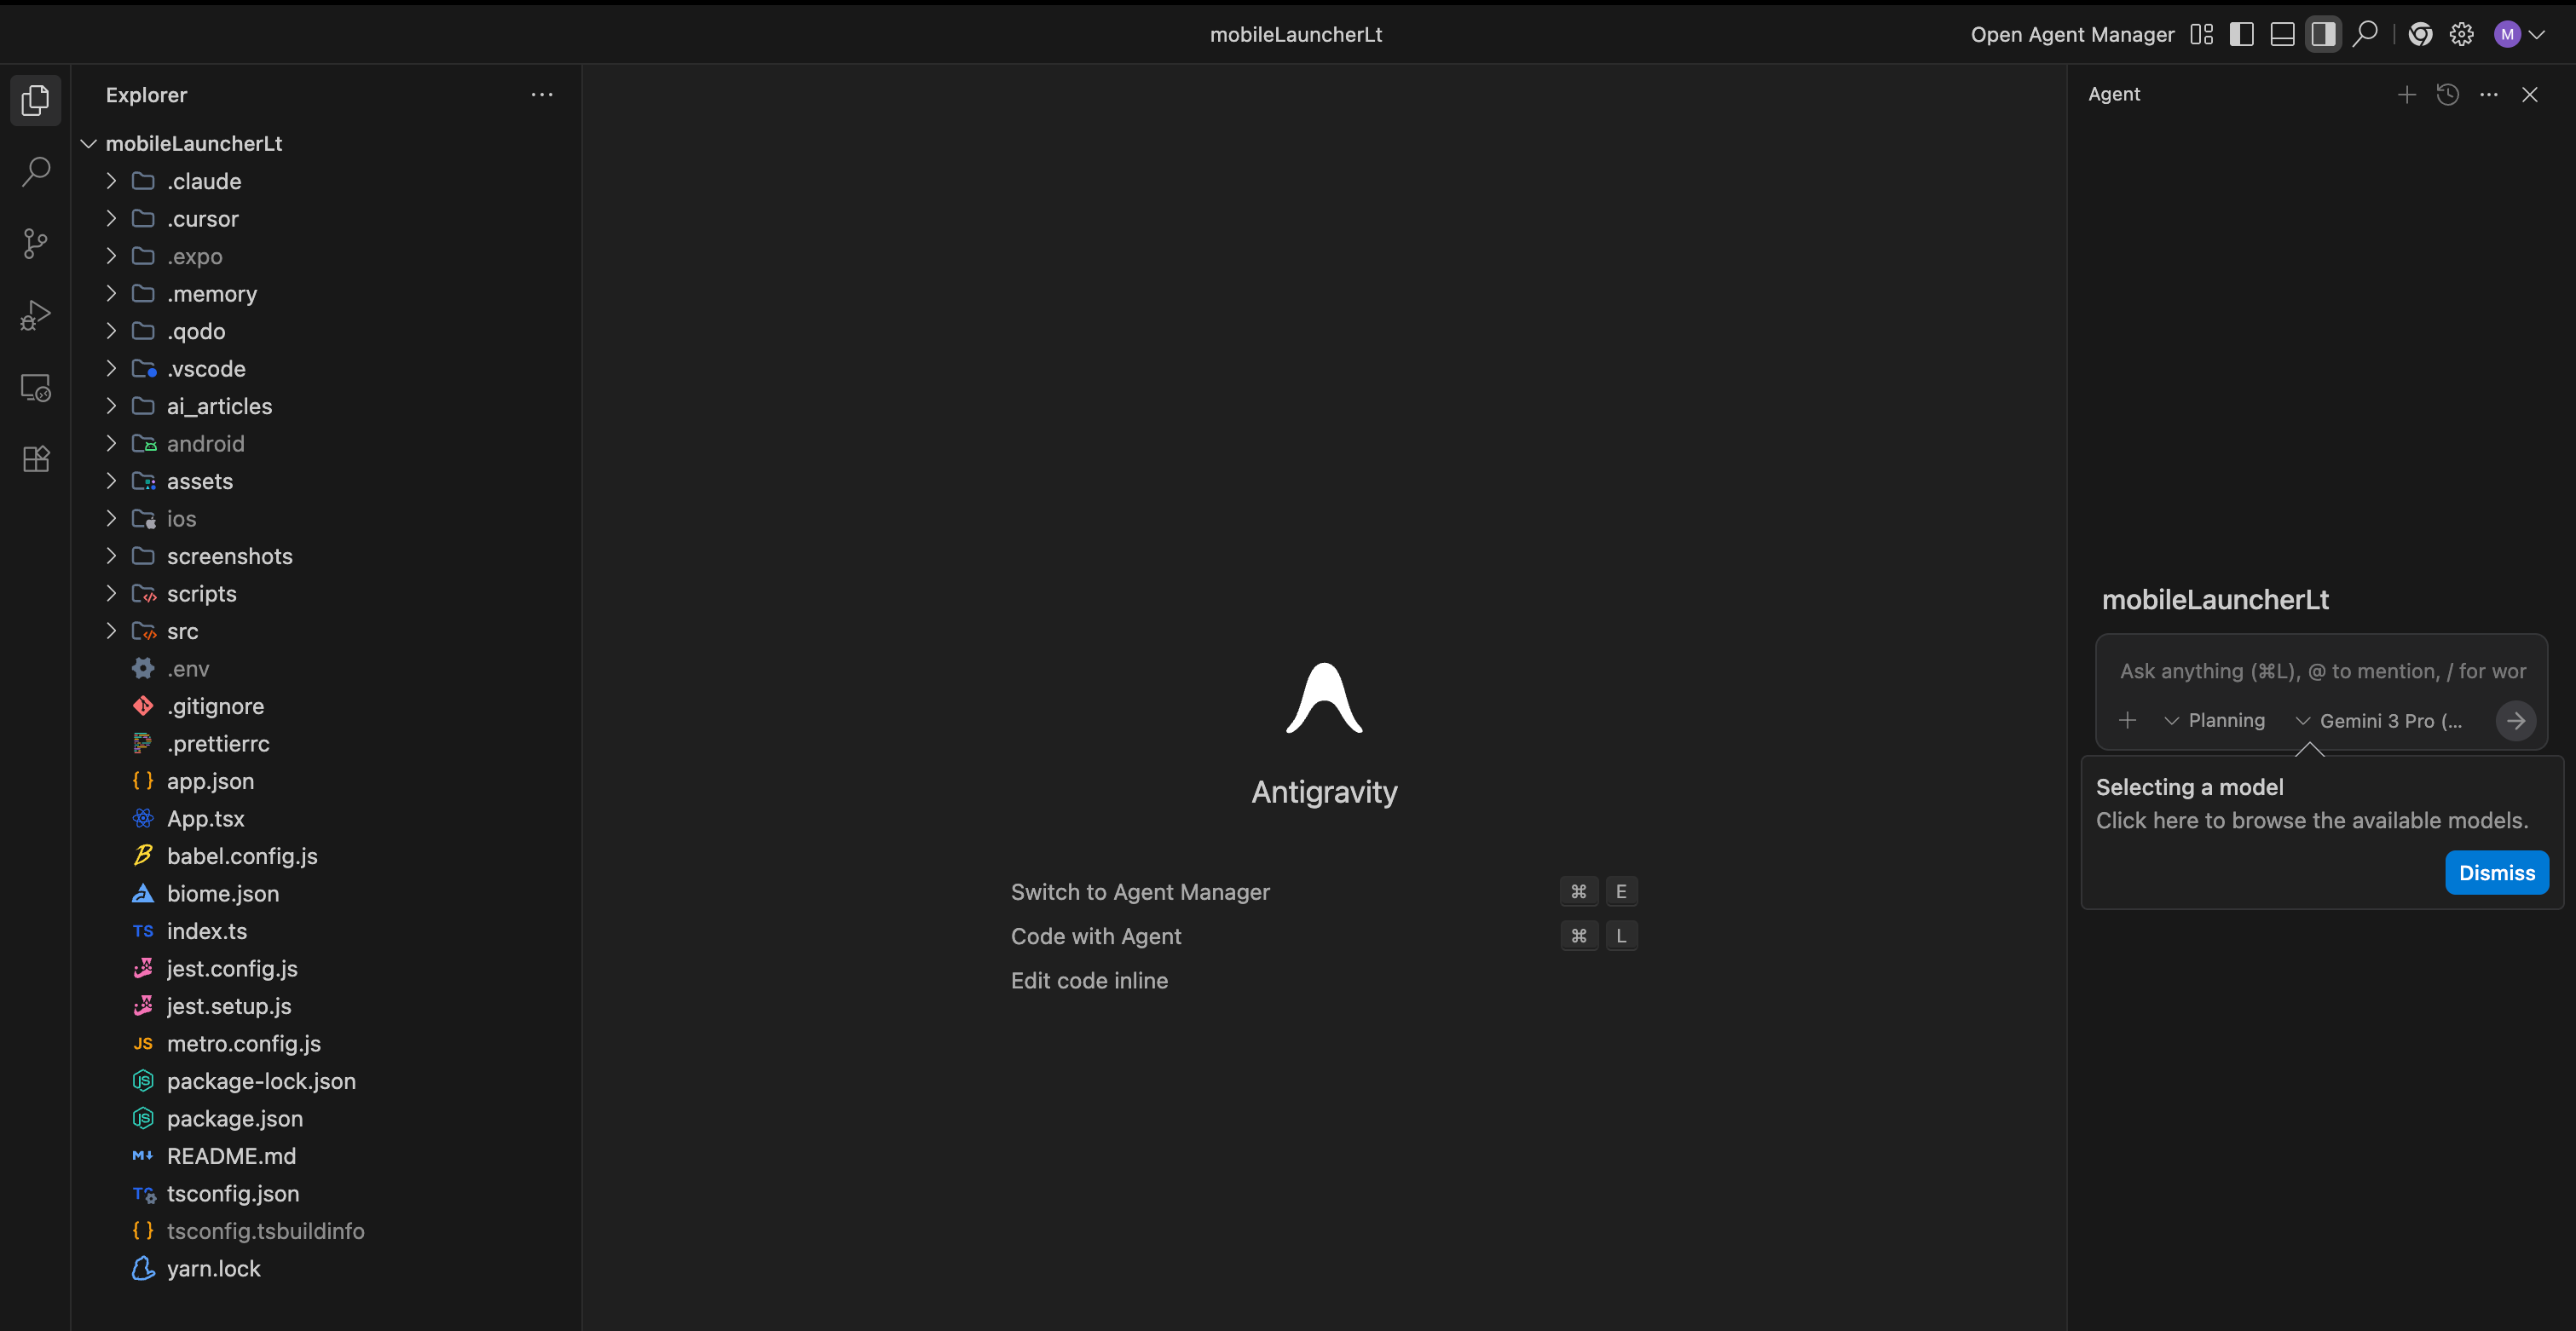
Here’s a quick tour of the key areas :
Inbox: This is where you track all your agent conversations and their updates. It’s your central hub for monitoring ongoing and past tasks.
Workspaces: You can open different project folders, just like in VS Code. Each workspace can have its own set of active agents.
Editor View: This button switches you from the Agent Manager to the familiar code editor, where you can make manual changes or see what the agents have built.
New Conversation: This is where you start a new task and spawn a new agent.
Before you start a task, you have two key dropdowns to configure :
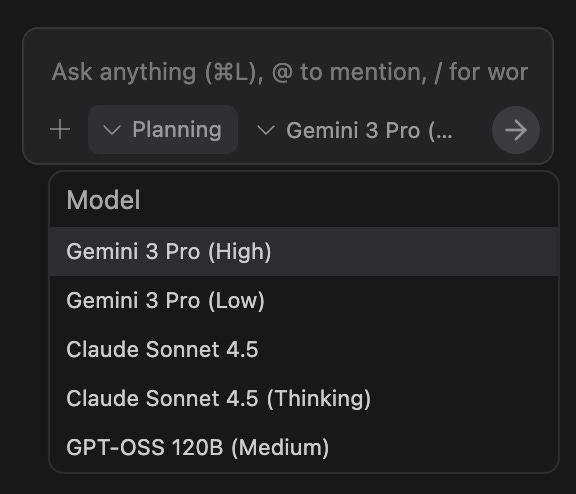
Model Selection: By default, this is Gemini 3 Pro, but you may also have access to models like Claude Sonnet .
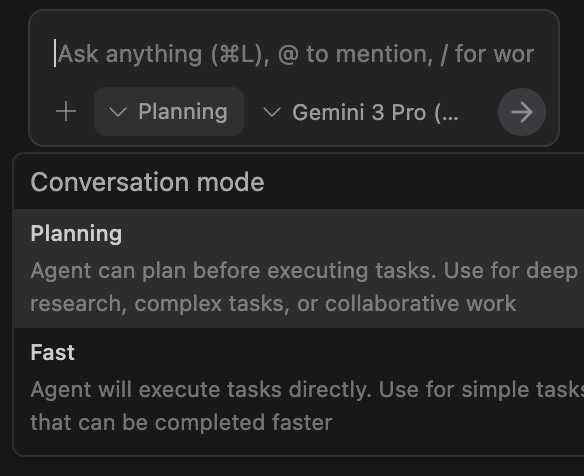
Planning Mode: This is a powerful lever.
PlanningMode: The agent thinks deeply, creates a step-by-step plan, and produces detailed artifacts. Use this for complex, multi-step tasks.FastMode: The agent skips extensive planning and executes immediately. Best for simple tasks like renaming variables or running a few commands .
Tips for Success and Common Pitfalls
Based on my experience since launch, here’s how to get the best results and avoid frustration.
Write Clear, Goal-Oriented Prompts: Instead of “add a button,” try “add a green button that says ‘Subscribe’ below the blog post and link it to a new
newsletter.htmlpage.” Specificity matters.Start Simple: Begin with small projects to learn the agent’s behavior before delegating critical, complex tasks.
Embrace the Manager Role: The cognitive load shifts from writing code to formulating tasks and reviewing outcomes. This takes some getting used to.
Be Aware of the Current Limitations: As a new platform, it has rough edges. Users report athat gents can sometimes terminate unexpectedly on long tasks, browser integration can be flaky, and the overall stability isn’t as battle-tested as Cursor yet. Patience is required.
Advanced AntiGravity: MCP, rules, workflow and Agent Mode
MCP server:
I don’t want to re-talk for you about MCP, and what it means for AI nowadays, or why everyone is talking about it
This is a recap: https://aimeetcode.substack.com/p/what-is-mcp-servers-and-what-you
To connect to a custom MCP server:
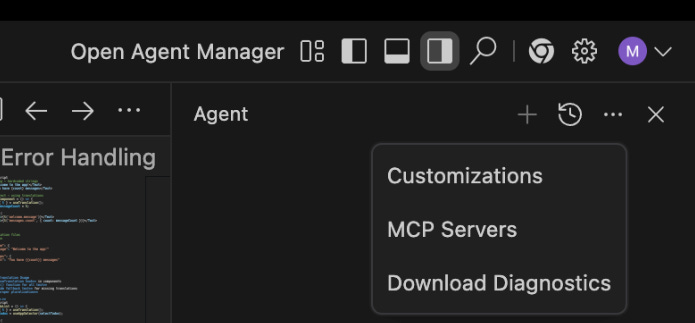
Open the MCP store via the “…” dropdown at the top of the editor’s agent panel.
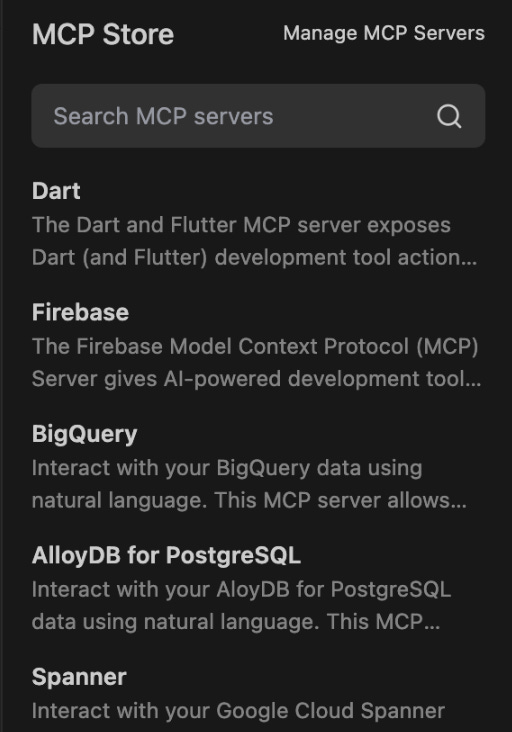
Click on MCP Servers”, and you get a list of mcp servers if you want to add
Click on “View raw config”
Modify the mcp_config.json with your custom MCP server configuration. if you want to get them from Cursor for example

You can read more here: https://antigravity.google/docs/mcp
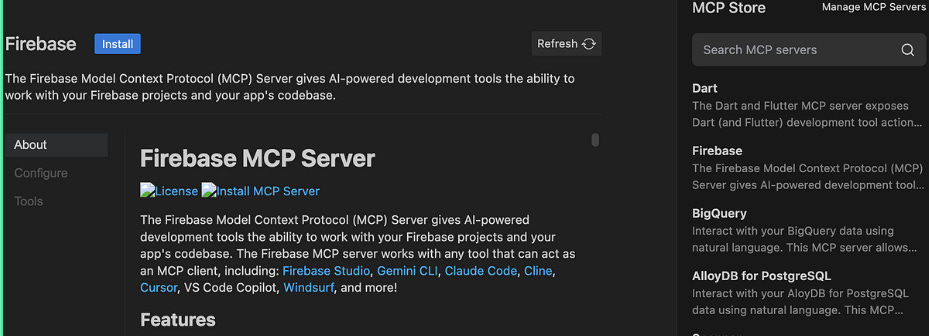
For example, to install Firebase MCP Server:
Rules and Workflows
Rules: System-level instructions that guide code generation and testing.
Example: Ensure all code follows PEP 8, is well-commented, and modular.
Workflows: Reusable prompts triggered on demand, like shortcuts for common tasks.

A good analogy is that Rules are more like system instructions, whereas Workflows are more like saved prompts that you can choose on demand.
Both Rules and Workflows can be applied globally or per workspace and saved to the following locations:
Global rule:
~/.gemini/GEMINI.mdGlobal workflow:
~/.gemini/antigravity/global_workflows/global-workflow.mdWorkspace rules:
your-workspace/.agent/rules/Workspace workflows:
your-workspace/.agent/workflows/
Example workspace rules in agents.md:
* All code must follow PEP 8
* Each new feature goes in its own file
* Include example methods for demonstration
Workflow example: Generate unit tests
ag workflow create generate-unit-tests
# Generates test files for each method and ensures consistent namingy
Using rules + workflows ensures predictable outputs and maintains coding standards, even across multiple sessions.
You can read more in their Official documentation here: https://codelabs.developers.google.com/getting-started-google-antigravity#6
Agent Mode: Autonomous Yet Safe
Agent Mode allows Antigravity to perform tasks autonomously in your workspace and browser, but with safety controls.
Key features:
Terminal Command Auto Execution Policies: Decide whether the agent runs commands automatically (
Turbo), selectively (Auto), or never (Off).Allow List: Explicitly permit safe commands in Off mode.
Deny List: Block dangerous commands in Turbo/Auto mode.
Browser URL Allowlist: Limit which sites the agent can visit to prevent prompt injection attacks.