
Claude Code for Software engineer, how to switch from Cursor and my opinion
What is Claude Code, and what is an evolution in term of coding. Learn in this guide how to get started, switch from cursor and integrate MCP server < Figma MCP server with claude code>

TL;DR
Claude Code feels like a black box—great for quick code gen but tough on validation and indexing for serious engineers.
Switching from Cursor: Export your setups, install Claude Code, and get started with it.
Take your Cursor Rules to Claude: Use CLAUDE.md files or plugins to switch contexts without losing your mind.
MCP magic: Connect to tools like Figma for design-to-code; I’ll show a quick example.
My verdict: Better for vibe coders than hardcore devs—try it, but don’t ditch Cursor yet.
Introduction
Bonjourno, fellow coders—I’m Malik, running Code Meet AI to experiment with AI so we don’t get left in the dust.
When Claude's code came out, everyone was talking about it and how great it was. I had to switch and test it out. In this guide, I will tell you more in this article.
What is Code Claude, and what makes it interesting?
Claude Code is an AI-powered coding assistant that lives in your terminal, understanding your codebase and accelerating development through natural language. It integrates directly into your workflow, providing a flexible and safe way to leverage AI for coding tasks
It will enable you to do the following:
Codebase Understanding: Quickly understand project architecture and logic. It is good at indexing and understanding the whole project structure. Of course, there are context limitations in any LLM, but the one from Claude is amazing.
Code Editing & Bug Fixing: Edit files and fix bugs with natural language.
Testing & Linting: Execute and fix tests and linting errors. it can understand the linting and code consistency easily
Git Integration: Simplify Git operations like commits, PRs, and conflict resolution.
Web Search: Access documentation and online resources. The search functionality is really amazing, and it search usually by the best practices, official documentation,..
MCP Integration: With different MCP integration already there, it is easy to get the full superpower of the AI coding assistance tool
Secure & Private: Direct API connection to Anthropic, operating within your terminal.
Get Started:
Installation of Code Claude:
Check if NodeJS +18 is already installed
Run the following:
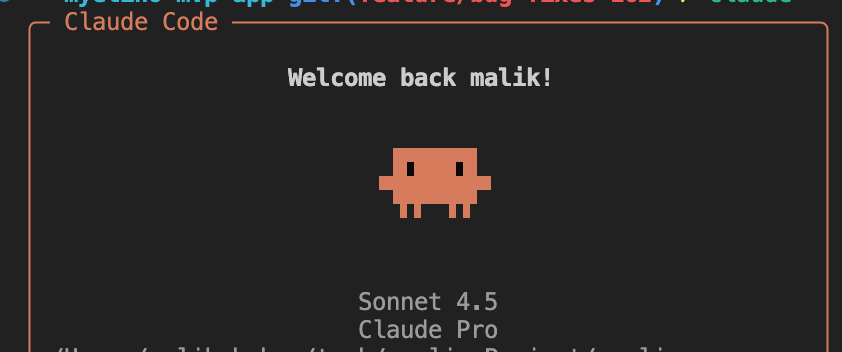
npm install -g @anthropic-ai/claude-coderun : claude in your terminal, and it will ask you to authentificate. It will redirect you to your browser. Accept that, and you are ready to go
Init your project:
run /init, and i will initialize in your project. It will index that and then ask you if you want to create a CLAUDE.md file, which will contain the code base's best practices.
Switch from Cursor to Claude Code:
As i explained before, how you should set up your Cursor environment to have best performant output for your llm, with better code consitency, and less hallucination, check it here:
We will take that into Claude Code.
Claude.md file:
Claude Code has a different architecture. It is more “agentic” in nature: you give it a manifest (often CLAUDE.md) or “agent rules” that structure its behavior. builder.io+3kirshatrov.com+3arXiv+3
Key differences:
The agent manifest (CLAUDE.md) is the canonical place to encode project-level instructions: build/test commands, coding style, naming conventions, error handling norms, etc. kirshatrov.com+2arXiv+2
Claude Code has built-in logic to pull your manifest (CLAUDE.md) and include it in its prompt pipeline. Anthropic+2builder.io+2
The manifest tends to be shallow and focused on operational rules rather than long narrative — it’s optimized for agent use. In one empirical study, manifests were usually a handful of sections, dominated by commands and structure. arXiv
Claude Code’s indexing is more dynamic: its agent logic will automatically pull context from your project files according to relevance. This context gathering costs tokens/time. Anthropic
Claude Code is designed to scale better for large codebases (some users report it handles tens of thousands of lines where other tools choke) builder.io
You don’t (generally) write multiple “rule files” like in Cursor; instead, you use a manifest + instructions in your prompts and the agent’s logic integrates them.
Hence: when migrating, think less “many little rule files sprinkled around” and more “one authoritative manifest + smarter prompt chaining + context selection.”
Prompting Claude Code vs other AI models
When it comes to using CLaude as a model, this is the best approach to achieve best output
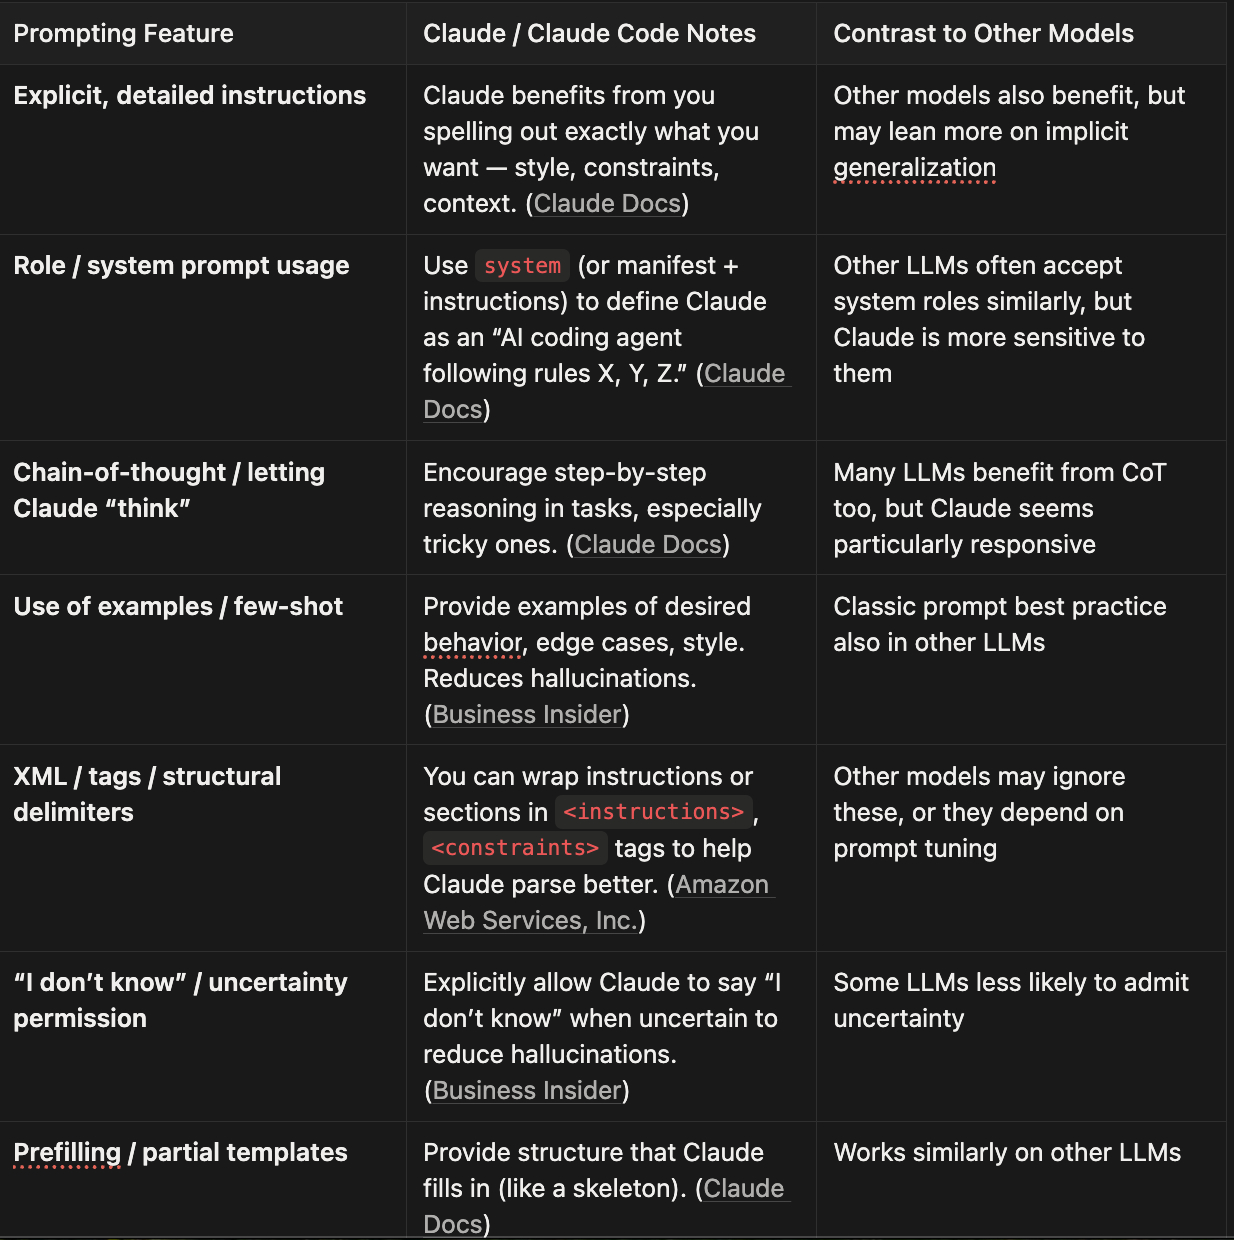
In short, prompting Claude Code is more “structured + rule-forward” than casual open prompts. The manifest + prompt synergy is critical.
Prompt: Convert Cursor Rules → Claude Code agent manifest
To switch your Cursor rules to Claude.md, run the following Prompt
You are an expert AI code agent and assistant specialized in migrating developer tooling from Cursor to Claude Code.
Your task is to **ingest a set of Cursor rules** (in markdown or `.cursorrules` or `.cursor/rules` format) and **generate a well-formed CLAUDE.md manifest** that is optimized for Claude Code.

<instructions>
- Read the Cursor rules provided (style, constraints, naming, test policies, etc.).
- Map them into sections in `CLAUDE.md`: e.g. **Build/Test Commands**, **Style & Naming Conventions**, **Error Handling & Guardrails**, **Module Boundaries**, **Security & Secret Handling**, **Prompting / Behavior Expectations**.
- For each rule, include a short rationale comment (1-sentence) on why it’s there.
- If a Cursor rule is context-specific (only for certain tasks), you may convert it into a guideline under a “Task-specific rules” section.
- Avoid duplicating trivial rules; prefer consolidating into manageable sections (~15–25 lines).
- Use clear YAML or markdown structure, so Claude Code agents can easily parse it.
- Example mapping:
    - `“Always use strict types over any”` → `typescript.strict: true # enforce non-any types`
    - `“Prefix private vars with _”` → `naming.private_prefix: “_”`
- At the top, include a header comment “# CLAUDE.md — generated from Cursor rules”.
- After generating the file, also produce a concise “migration notes” summary (2–3 bullets) explaining any significant changes or caveats.

<example input>
```text
# Cursor-style rules
Always:
- Use semicolons in JS/TS
- No using `any`
- All function parameters must have JSDoc
Auto:
- When writing data models, prefer snake_case for DB and camelCase for code
- If a function is >20 lines, refactor into smaller units
- read the code base, and try to get example for each rule, and add details to it to make more clear for you.
This way you will have your own rules for Claude code into your app, and this will map the answer better, with much better results and less hullicination.
How to use Model Context Protocol (MCP) inside Claude Code:
We already talked about MCP in the previous article. For this section, we will talk about how to integrate that into Claude Code
to get the list of MCP servers. Check here: https://code.claude.com/docs/en/mcp
. It is straightforward to integrate that. a
Minimal code snippet to try (run in your terminal after install):
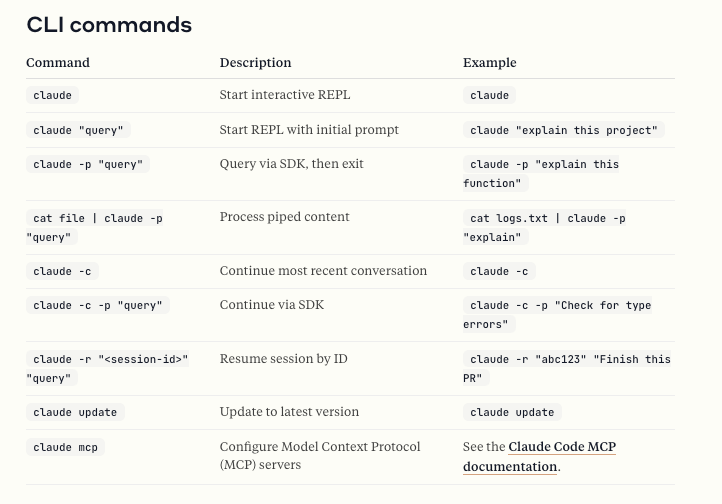
claude mcp add <...>Managing MCP Servers
# List all configured servers
claude mcp list

# Get details for a specific server
claude mcp get figma

# Remove a server
claude mcp remove figma
Integrate the Figma MCP server
First, you’ll need the Figma desktop app:

Open the Figma desktop app and update to the latest version
Create or open any Figma design file
Click the Figma menu in the upper-left corner
Under Preferences, select “Enable Dev Mode MCP Server”
the video
You should see something like:

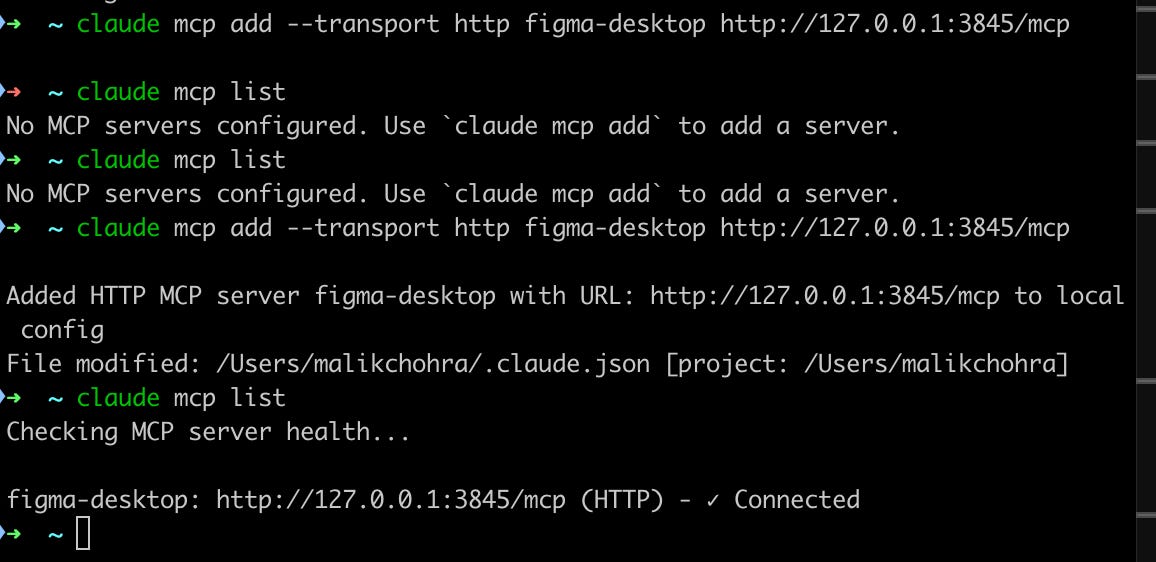
Second, run the following to connect:
claude mcp add --transport sse figma-dev-mode-mcp-server http://127.0.0.1:3845/sse
Then, to show the list, you will find something like this
And now you can do different operations in the figma. For example, the best way for me is the following:
Design a screen using React Native, Design System, Claude Code, and CLAUDE.MD and Figma MCP
After I set my own design system inside my React Native app, I will put that inside the rules file in my CLAUDE.md, to explain to it how you should use it
I would already have a small example of the usage, if not inside the CLAUDE.md file, an example from the code base.
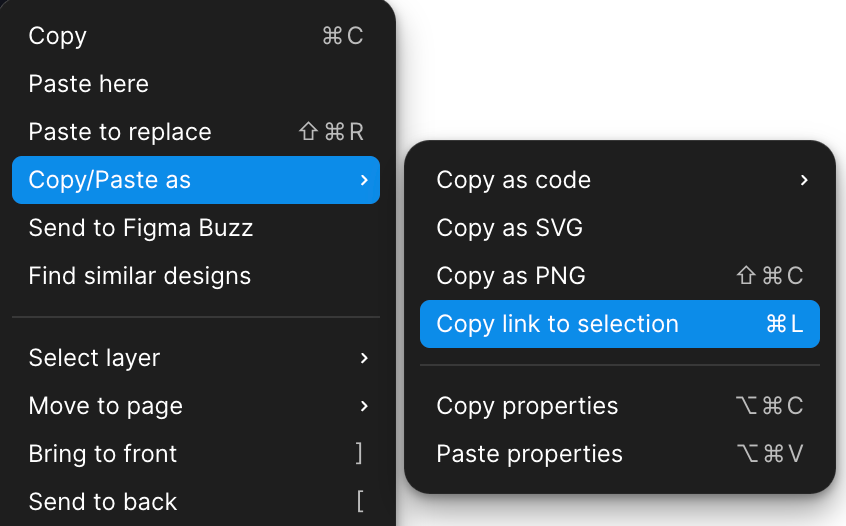
Then I paste the link to the Figma inside Claude code after integrating the Figma MCP, by doing the following:

Then I asked Claude to design the screen from the link, taking into account best practices and how we are using it.
What’s your take on Claude Code vs. Cursor this week?
I resonate with your thoughtful analysis, Malik; it's an important distinction.